Start a Mojolicious App
Mojolicious is a full-featured web application framework, including features like asynchronous I/O, a Perl-based template language, parameterized routing, a built-in HTTP client, support for WebSockets, a web testing framework, and an array of plugins and related projects.
Despite this vast ecosystem of libraries, getting started building a Mojolicious application is simple when you use the included Mojolicious::Lite API. Mojolicious::Lite is a declarative API for easily building self-contained web applications in a single script file. This makes it perfect for tutorials like this one.
To start your Mojolicious application, create a file called myapp.pl.
In that file, import the Mojolicious::Lite module:
#!/usr/bin/env perl
use Mojolicious::Lite;
The Mojolicious::Lite module imports a few functions into our script.
One of these functions is the get function, which creates
a Mojolicious
route to
respond to an HTTP GET request. The get function takes two
arguments: The first is the route's path (like /index or even just
/), the second is the route's handler (we'll use a subroutine).
#!/usr/bin/env perl
use Mojolicious::Lite;
get '/' => sub {
};
Inside our subroutine, we generate the response for the request. We send
our response using the
Mojolicious::Controller object
given to our subroutine (which by convention we call $c). The
controller has a method called render which allows us to respond with
content:
#!/usr/bin/env perl
use Mojolicious::Lite;
get '/' => sub {
    my ( $c ) = @_;
    $c->render(
        content => 'Hello, world!',
    );
};
As the last thing in our Mojolicious::Lite application, we need to call
app->start. app is another subroutine Mojolicious::Lite gives us and
it refers to the current application (a
Mojolicious object). The
start method hands control to the
Mojolicious::Commands
framework, which lets us run our app.
Our complete (so far) example app looks like this:
#!/usr/bin/env perl
use Mojolicious::Lite;
get '/' => sub {
    my ( $c ) = @_;
    $c->render(
        content => 'Hello, world!',
    );
};
app->start;
Mojolicious Commands
Now that we have an application, let's run it. Since we're using Carton,
we can execute our script with carton exec:
$ chmod +x ./myapp.pl
$ carton exec ./myapp.pl
Usage: APPLICATION COMMAND [OPTIONS]

  mojo version
  mojo generate lite_app
  ./myapp.pl daemon -m production -l http://*:8080
  ./myapp.pl get /foo
  ./myapp.pl routes -v

Tip: CGI and PSGI environments can be automatically detected very often and
     work without commands.

Options (for all commands):
  -h, --help          Get more information on a specific command
      --home <path>   Path to home directory of your application, defaults to
                      the value of MOJO_HOME or auto-detection
  -m, --mode <name>   Operating mode for your application, defaults to the
                      value of MOJO_MODE/PLACK_ENV or "development"

Commands:
 cgi       Start application with CGI
 cpanify   Upload distribution to CPAN
 daemon    Start application with HTTP and WebSocket server
 eval      Run code against application
 generate  Generate files and directories from templates
 get       Perform HTTP request
 inflate   Inflate embedded files to real files
 prefork   Start application with pre-forking HTTP and WebSocket server
 psgi      Start application with PSGI
 routes    Show available routes
 test      Run tests
 version   Show versions of available modules

See 'APPLICATION help COMMAND' for more information on a specific command.
Running our app without any arguments gives us a list of the Mojolicious
commands we can run. To run our application, we can use the daemon
command:
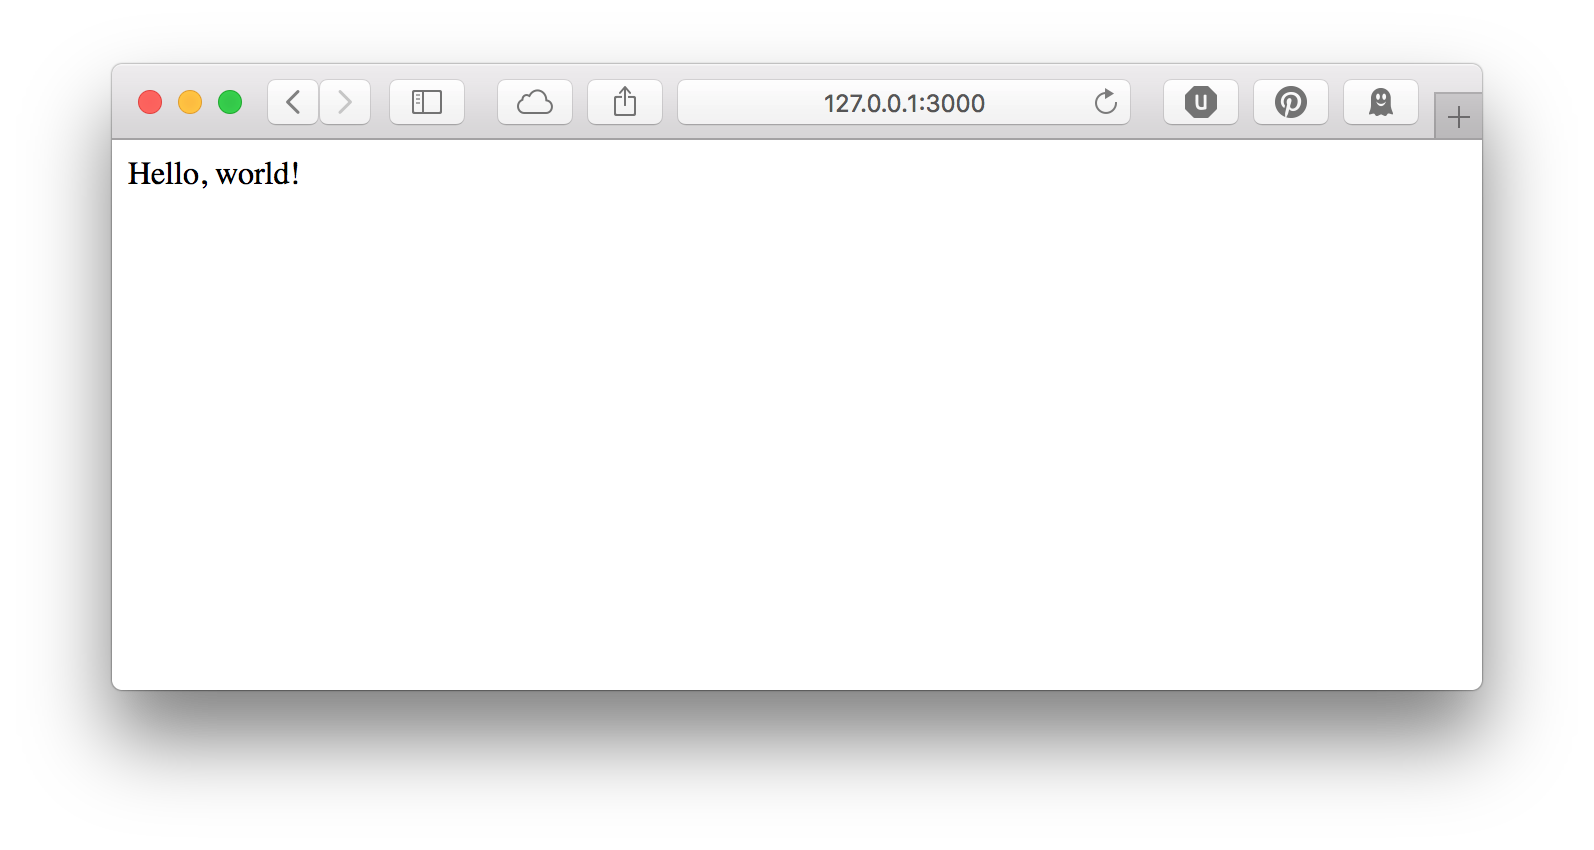
$ carton exec ./myapp.pl daemon
Server available at http://127.0.0.1:3000
Now if we open up a web browser, we can see our page.
DATA, Templates, and Layouts
In addition to just rendering text, we can render HTML templates. Rather than putting our HTML inside our subroutine, we can instead create a template. Rather than putting the template in an external file, we can put our template in the same file as our webapp in the our script's data section.
The data section of the script is all the content in our file that
comes after __DATA__. See perldoc perldata
for more information about __DATA__.
Inside our data section, we can create a template by introducing a new
file with @@. We'll name our template index.html.ep: index is the
name, html is the format, and ep is the template language (short for
Embedded Perl).
__DATA__
@@ index.html.ep
Hello, world!
Now we can refer to our template to render our response:
get '/' => sub {
    my ( $c ) = @_;
    $c->render( 'index' );
};
Or, even more succinctly:
get '/' => 'index';
Our app now look like this:
#!/usr/bin/env perl
use Mojolicious::Lite;
get '/' => 'index';
app->start;
__DATA__
@@ index.html.ep
Hello, world!
But this index page is not a good HTML document: It lacks a DOCTYPE
and the appropriate HTML scaffolding. Rather than add this common
boilerplate to every one of our templates individually, we can create
a layout template that wraps our other templates. A layout template is
just another template, this time in the layouts folder. We'll name our
template default:
@@ layouts/default.html.ep
<!DOCTYPE html>
<html>
    <head><title><%= title %></title></head>
    <body>
        %= content
    </body>
</html>
This template uses our first Embedded Perl directives:
- First, we insert the title of the page into the
<title>tag by using<%= title %>. Thetitlefunction gets/sets the title of the page. - Next, we insert the content of the page by using
%= content. Thecontentfunction is where the rendered inner template (ourindextemplate) is stored.
Embedded Perl templates have two kinds of directives:
<% ... %>is a tag directive, and can be found anywhere and span multiple lines%as the first non-whitespace character on a line makes a line directive.
Having a = immediately after the opening % prints the result of the
Perl expression in to the template. So, <%= title %> calls the title
function and embeds the result in the response, and %= content calls
the content function and embeds the result.
Once we have our layout template, we can tell our index template to
use our layout template, and set a title for the page using template
directives:
@@ index.html.ep
% layout 'default';
% title 'My Application';
Hello, world!
Here's our full app so far:
#!/usr/bin/env perl
use Mojolicious::Lite;

get '/' => 'index';

app->start;
__DATA__

@@ index.html.ep
% layout 'default';
% title 'My Application';
Hello, world!

@@ layouts/default.html.ep
<!DOCTYPE html>
<html>
    <head><title><%= title %></title></head>
    <body>
        %= content
    </body>
</html>
This is where we'll start creating our to-do application.
You can read a guide about rendering Mojolicious responses for more information about templates and other kinds of responses.
The Mojolicious Tutorial
Mojolicious has its own tutorial which covers more than the introduction here. The rest of this Yancy tutorial will cover some of these topics in-depth, but if you're familiar with web frameworks, you can read the official Mojolicious tutorial for a quick demonstration of Mojolicious's features.